I am a huge believer in, “Don’t reinvent the wheel!” If an activity works for your family, your kids love it, and it is requested holiday after holiday… Keep it going! One of my kids’ very favorite holiday crafts is called paint and pass. Full disclosure, I invented this activity to avoid a kid meltdown when his sister accidentally painted on the canvas he had started. It was quick Mom thinking that has served us well!


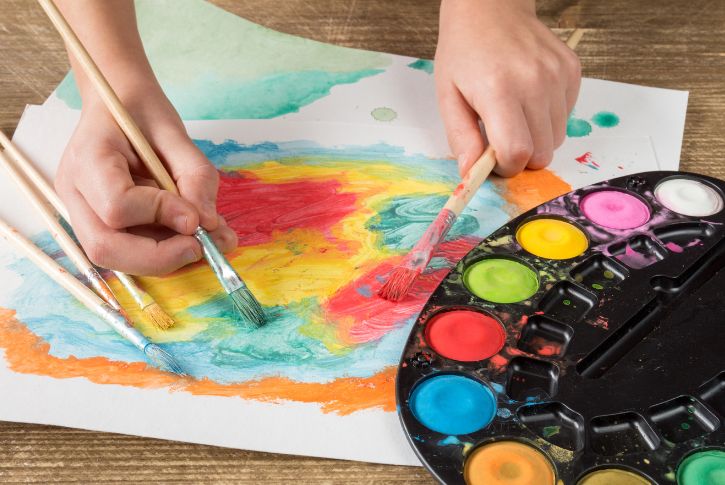
Here’s What You Need: A cheap canvas (or paint paper) for each participant, a variety of WASHABLE paints, paint pallets, paintbrushes, cups of water to rinse brushes, and paper towels. If you want less cleanup, which is always my preference, use disposable cups for your paint water, a paper plates as pallets, and super cheap paint brushes you can use and toss.
Here’s What You Do:
Decide on a holiday picture that will involve lots of different sections, parts, and areas to design. For example at Christmas we have done gnomes, snowmen, and gingerbread men, at Halloween we have done monsters and spooky scenes, at Thanksgiving we’ve done turkeys, and at Easter we have done bunnies and baskets of Easter eggs. You want to choose a picture that will require at least enough parts for each person to add one object or design element to each person’s canvas. For this example, I will share the steps we took to create spooky Halloween monsters.
- After each participant has their supplies, share the first piece of the picture. For the spooky monsters, each child started by painting the hat of their monster. It helps with spacing to start with an item or component that is right at the top or right at the bottom. The first person at our craft table painted the hat of their own monster.
- After the first step painting is complete, have everyone pass their artwork to the person to their right.
- Then, announce the next item to be painted. For our spooky monsters the second painting step was to paint the head shape.
- After the second step painting is complete, have everyone pass that artwork to the person to their right.
- Then, announce the next item to be painted. For our spooky monsters the third painting step was to paint the eyeballs for the monsters.
- Have the painting and passing continue until the completed artwork reaches the original owner. Then, have them complete the piece by painting the background scenery
Enjoy!


